Support the Work

If you have found the information on this blog useful, enjoyable, candid, or inspirational ... help keep it reader supported, journalistically driven, available to all, and advertiser-free. If you are able and inspired to do so, please consider a subscription to this blog. You can drop a dime or two every month, every year, or whenever you feel moved.

It will keep me writing, gathering facts, and interviewing the experts.

Love,

Elisabeth

CLICK HERE TO SUPPORT THE WORK

Parent / Sponsor


NEED TO FIND SOMETHING?
Join The Email List

Get Tastiness to Your Inbox

* indicates required

A blog about all things allergen-free and delicious

Entries in Recipe (57)

Monday
Feb112013

Recipe: Almond Cognac Truffles


 PHOTOGRAPH COURTESY OF JEFF HAGE, GREEN FROG PHOTO


BY ELISABETH VELTMAN, THE TENDER FOODIE

What would Valentine's Day be without chocolate?  It would be the day I made the front page of the New York Times ("Single Gal Sets Hallmark Store on Fire").  My love affair w/ this beautiful bean began many moons ago, and has evolved to accommodate the onset of dairy and now, tapioca allergies (tapioca is used in place of soy lecithin in soy-free chocolate). Thanks to a few forward thinking chocolatiers, there are truly dairy-free, even soy-free choices out there, the quality of which, make excellent truffles.

Truffles, in my opinion, are the quintessential gift, though I do confess that these don't always make it to the intended recipient.  This recipe is my favorite.  It combines a soft, sensuous center that leaves you a little buzzed, cupped by a hard chocolate shell waiting to be snapped.  Yeah, they taste as sexy as they sound. Go forth Lovers, make them, eat them, and be ... inspired.


RECIPE:  ALMOND COGNAC TRUFFLES

Dairy-free, Gluten-free, Soy-free, Egg-free
Copyright, Elisabeth Veltman, The Tender Palate

INGREDIENTS

10 oz. of dairy-free bittersweet chocolate – chopped in small chunks for the ganache
6 more oz. tempered for the ganache (see below)
8 more oz. tempered for the coating (see below)

Recommended brands:  Enjoy Life Bittersweet Chocolate Chunks (made w/o soy, but w/ tapioca)  or Callebaut Bittersweet Chocolate (made w/ soy lecithin)

½ cup of coconut cream (measured after the fat is stirred in)
    (Recommended Brand: Thai East Coconut Milk)

1 TBS of coconut oil (melted)

2 tsp. of almond extract (gluten-free)

4 TBS of cognac (pure distilled)

½ cup of granulated sugar (for sprinkling)


MAKE THE GANACHE

Place 10 oz. of chopped chocolate into a medium-sized bowl. In a small saucepan, bring the coconut cream just to a boil and immediately pour over the chocolate chunks.  Add the coconut oil.  Shake to evenly coat, and then cover the bowl with a plate to seal in the steam.  This will melt the chocolate.  Ignore for 10-15 minutes, and then whisk the mixture vigorously until there are no lumps and the chocolate has a lovely shine to it.  Whisk in the cognac and the almond extract.  

Temper 6 oz. of chocolate: As you wait for ganache to melt together (above), place 6 additional oz. (3/4 c.) of chocolate chunks into a Pyrex* measuring cup and place into the microwave for 20 seconds.  Stir, even if the chunks aren’t melted yet.  Place the chocolate back into the microwave for 20 more seconds, and then stir again.  Repeat this until the chocolate melts at 15-second intervals.  When all of the chocolate is melted and stirred, you have tempered chocolate.  This will add to the texture of the truffles.  Add this to the Ganache and whisk until the shiny again.

At this point, place your ganache, covered, in the refrigerator to firm up for an hour or over night.  

*Use the Pyrex brand of measuring cup, since it conducts heat evenly.  Some containers will burn the chocolate in the microwave.

ROLL & COAT

Temper another 8 oz. of chocolate chunks in the microwave, using the same method above, but set aside.  

Remove the ganache from the refrigerator.  If it is too hard, simply let it sit for 30 minutes.  With a small melon baller, tiny ice cream scoop, or a spoon, scoop out the ganache and roll in your hands to make a small, round ball.  Continue until the ganache is all balled up.  Place each ball on a plate with an inch of space around each one.  The carefully spoon the last batch of tempered chocolate over the top of each ball so that it seeps over the top and down the side and creates an upside down cup.  Place the plate(s) of truffles in the refrigerator to set for about 30 minutes.  When the chocolate is set (the outer coating will be hard, and the filling will be firm but soft) turn each truffle over and sprinkle the ganache filling with sugar.  

Serve cold or at room temperature.  Best to store covered in the refrigerator.


About the Author


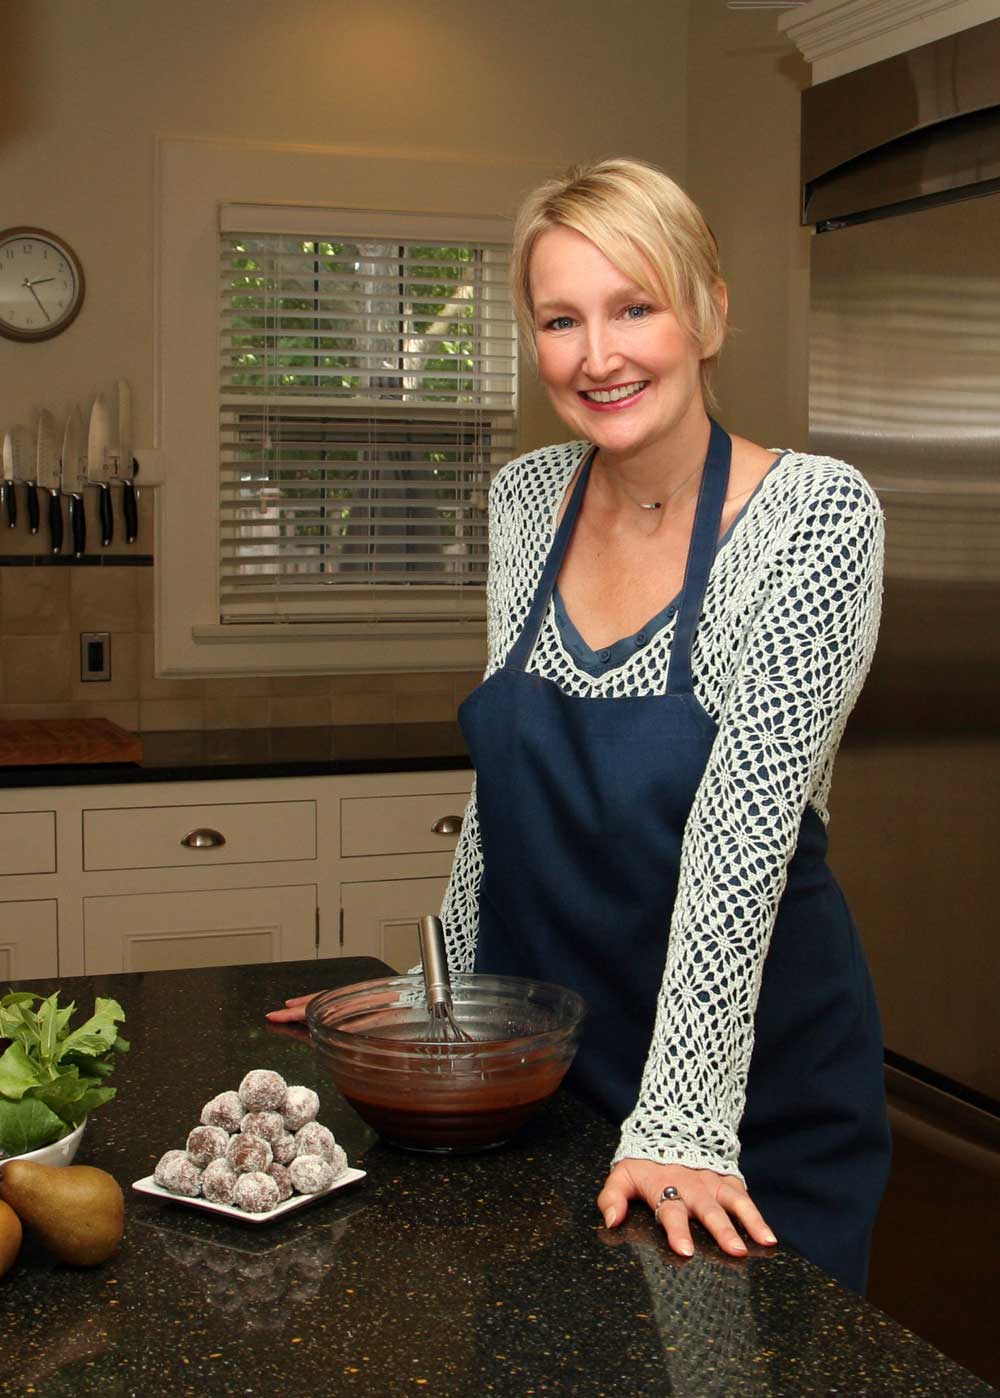
Writer, owner of Blue Pearl Strategies, and lover of all culinary delights, Elisabeth is a Tender Foodie. She started The Tender Palate, a website for foodies with food allergies where she consults with experts from every area of the Tender Foodie life. She believes that everyone should live deliciously and have a healthy seat at the table. Find her at www.tenderpalate.com.


Wednesday
Jan232013

Recipe: Slow Cooker, Nutrient-Rich Beef Bone Broth

Beef Bone Broth, right at the beginning of cooking.

Over the last couple of years, bone broths have become a brilliant part of this Tender Foodie's diet. I started making chicken bone broth because I couldn't find a broth or stock that was free of gluten, sugar and addititives, and free of other ingredients to which I'd become allergic or sensitive.  Sound familiar? I started making chicken bone broth in a big pot, but since I'm notorious for the hapless forgetting of one's pots upon one's stove, the long boiling hours for bone broth was counter-productive.  No one wants a burned down kitchen.

I then found an ingenious idea from The Nourished Kitchen, a wonderful food blog that includes many gluten- and dairy- free recipes.  Make your bone broths in the slow cooker, and after 6 hours, scoop and strain individuals servings as needed.  Replace what you take with fresh filtered water. You can keep this going for several days (about 5), depending upon your cooker, how much you use, and how well you replace the water.

Bone broths may not sound very appetizing, but they are surprisingly tasty, and are packed with trace minerals, gelatin, and amino acids that the human body needs, but rarely gets from modern food.  Benefits of bone broths:

1.  Healthy hair, nails and skin

2.  Helps heal your gut (esp. leaky gut)

3.  Helps your liver detoxify

4.  Helps 'beef up' your immune system

You can freeze bone broths and use like any stock in soups or sauces.  Or stew.  Or boeuf bourguinon.  Or Chili.


Traditional Foods 101: Bone Broth, Broth & Stocks

Copyright 2013, Nourished Kitchen, LLC. All rights reserved. No part of this content may be republished without express, written consent.

RECIPE:  BEEF BONE BROTH

Bones roasting at 375

Here's a recipe for beef bone broth that I like best.

6-8 organic, grass-fed beef bones, roasted (see how & why to roast them here)

1 spring of fresh rosemary

4-5 sprigs of fresh thyme

2 cloves garlic, smashed

a few onion ends (you can freeze them, rather than throw them away, and use them in your broths) -- or about 1/4 of a large onion.  You don't want onion soup.

4-6 stalks of celery

2 TBS of Apple Cider Vinegar (helps extract the minerals from the bones)

2-3 bay leaves

2 tsp salt (you can add to taste later, so start short)


Put all of the ingredients in a crock pot / slow cooker.  Start on high for the first 2 hours, then reduce to low. After the first 6 hours of cooking you can begin drinking.  Just scoop out what you need and strain through a fine mesh strainer, to keep any bone fragments from getting in your cup.  To get the clearest broth, use a coffee filter in your strainer.  Coffee filters annoy me, so I stick with the fine mesh filter.  Replace taken or evaporated broth with water. You can keep the pot going for about 5 days if you do this. 

Drink several times a day.  Many people, especially those on the GAPS diet, drink it in the morning, when your intestines are clearest and most receptive to the gelatin and minerals in the broth.


COOK TIPS: 

1. NO ROOTS:  You can make the bone broths to suit your tastes.  I have tried them with and without carrots or root vegetables, and generally, roots make the broths too sweet, which is why I leave them out.  Some people do like the taste of carrots or parsnips.

2. Roast your beef bones before you make the broth.  If you don't, your broth will be sour.

3.  Make sure to add filtered water at night before you go to bed, to keep the broth from evaporating and overcooking.

4.  Use filtered water.  Nothing creates a nasty taste in your soup like chlorine!  Plus, chlorine is a chemical, and not so good for you.

5.  Grass fed beef is thought by many doctors to metabolize in our systems better, organic grass fed helps reduce the chances of GMO (genetically modified organisms) of getting in our system.


OTHER RESOURCES

Here are two articles that go into brilliant depth about the benefits of bone broths:

Traditional Foods 101:  Bone Broths, Broths, and Stock from the Nourished Kitchen

Top 5 Reasons Bone Broths Are the Bomb from Underground Wellness


OTHER RECIPES

Try Brooke Kaufman's Chicken Bone Broth.

VEGAN?  Try Lisa Rose Starner's Nourishing Burdock Stew.


ABOUT THE AUTHOR


Writer, owner of Blue Pearl Strategies, and lover of all culinary delights, Elisabeth is the Tender Foodie. She started this blog and The Tender Palate, a website for foodies with food allergies where she consults with experts from every area of the Tender Foodie life. She believes that everyone should live deliciously and have a healthy seat at the table.


Friday
Dec282012

Recipe: Roasted Chili Chickpeas


Copyright Elisabeth Veltman

I was first introduced to roasted chick peas by Chef Jenna Arcidiacono when I was looking for a high protein late night snack.  She sent me a link to a recipe, and since there were a few ingredients I could not ingest, I re-invented.  So, voila!  These little babies are quick, easy to make and carry; and are a hit at a party.   Plus, if you are like many Tender Foodies who can't eat safely off of the buffet table, you can eat what you have brought, without having to keep meat in your purse or back pocket.


See Also

Six Tips to Sticking to Your Eating Plan During the Holidays

Top 10 HIdden Sources for Holiday Gluten


INGREDIENTS

2 33 – oz cans chick peas (garbanzo beans)

2 TBS chili powder

1 TBS ground cumin

1 TBS salt (adjust salt to taste)

1 tsp turmeric

1 tsp ground coriander

2 TBS low salt gluten-free tamari sauce

6 TBS olive oil

OTHER OPTIONS

1. Want more heat?  Add 1/2 TBS of Ancho chili powder

2. Want even more heat?  Add an additional 1/2 TBS of Chipotle chili powder

3. You can also add finely minced garlic (3 cloves)

If needed, you could add a little more olive oil if the marinade gets too thick.


MAKE


Preheat the oven to 425 degrees.


Rinse well & drain the chick peas.  Set aside.  Whisk the spices, GF tamari, and olive oil in a bowl. (Mix in optional garlic).  Add the chickpeas and mix until well coated.

Place the coated chick peas in one layer onto a parchment-lined baking sheet. 

Roast for 45 minutes.  Stir half-way through from outside in and re-spread into one layer.  Serve immediately hot or can be served cold the next day.


NO WASTE TIP

FOOD: This marinade is too good to waste.  So toss some roasted turkey or chicken in the bowl (pictured:  Applegate Farms sliced turkey) and coat it with the left over "sauce".  Then make a gluten-free sandwich (see my favorite breads here).  Yum.  I think I'll try this as a pre-grill marinade for chicken.  What do you think?

TIME:  save time by roasting some squash, along with the chickpeas!


Monday
Dec242012

Recipe: Coconut Cream Muffins


“I will honour Christmas in my heart, and try to keep it all the year.”

~Charles Dickens, A Christmas Carol


 Recipe copyright Elisabeth Veltman, The Tender Palate

PREPARE

Preheat oven to 350 degrees F.
Line a muffin tin with 12 muffin cups or heavily grease wtih coconut oil

Yield:  12 muffins

Gluten-free, Dairy-free, Soy-Free


INGREDIENTS

1 c. coconut flour (do not pack)
3/4 c. unsweetened coconut flakes
1/2 tsp. sea salt
1/2 c. coconut oil (melted, but not hot)
6 eggs (whisked)
15 oz. can of Thai East Organic Coconut Milk (with the coconut fat in the can mixed in to make the cream)
1/2 c. honey
1 tsp. gluten-free vanilla
1 c. chocolate chunks from Enjoy Life Foods (or chips, or mini-chips, or whole, raw cranberries)

See:  tips for using coconut flour


COMBINE

In a large bowl, whisk together the coconut flour , salt, and coconut flakes, getting out any lumps that might remain.  It is a good practice to sift the flour before you measure it, so no lumps or packed flour can throw off the recipe.  In another med/large bowl whisk the eggs, then add in the coconut oil, honey, coconut cream, and vanilla.  Slowly add in the coconut flour mixture to the egg mixture until well-combined.  It will be a thick batter.  Add in 1 cup of chocolate chunks.  Whole, raw cranberries work really well, too.


BAKE

Place muffin cups into a muffin tin, or grease the tin well with coconut oil.  This is a sticky, absorbent flour, so regular oil will get sucked into the batter and away from the tin.  Spoon the batter into the prepared muffin tin so that each cup is evenly full.  Bake at 350 degrees F. for about 30 min., or until the tops of the muffins are slightly brown and just firm to the touch.  Do not overbake.

Enjoy!

Tuesday
Nov202012

Gluten- & Dairy-Free Turkey Parts & Gravy

Many thanks to Chef Kathleen Schiefler for this recipe.  Kathleen & I will be teaching a gluten- & dairy-free cooking class for the Cook's Program at the GRCC Sechia Culinary Institute in March, 2012.  Stay tuned for details!

~Elisabeth Veltman


RECIPE FROM CHEF KATHLEEN SCHIEFLER


Prepare the Turkey Parts

 
Taking the time to roast a few turkey parts which creates a flavorful turkey stock, will ensure that you have enough gravy to go around, and will also give you a much more flavorful gravy! Most good quality meat markets sell packages of turkey backs and thighs this time of year and they are quite inexpensive.  The stock can be made several days ahead of time!


3-5 Turkey backs or thighs, or combination, cut in pieces with sharp knife
Olive Oil
Salt and Pepper
1 medium onion, cut into chunks
1-2 stalks of celery, cut into chunks
1 carrot, cut into chunks
2 bay leaves
1 teaspoon whole peppercorns
1 cup dry white wine
Juices from turkey roasting pan
4 tablespoons potato starch mixed in a bowl with enough cold water to form a paste


Preheat oven to 400’. Place turkey parts in roasting pan and rub lightly with olive oil.  Season well with salt and pepper. Place in preheated oven and roast for about 35-40 minutes or until golden brown.
Place roasted turkey parts in a large pan and add enough cold water to cover. Add onion, celery, carrot, bay leaf, peppercorns and white wine.  Bring to a boil, then turn down heat to a simmer over medium low heat and cook for about 40 minutes.  Remove from heat, strain though a strainer and reserve the liquid; discarding the solids.  This can be done several days ahead of time and refrigerated.  Once cold, skim off any accumulated fat on the surface.


MAKE THE GRAVY


When ready to make gravy:  Pour accumulated juices from the roasting pan of your cooked turkey into a bowl being sure to add all the little dark bits at the bottom of the pan.  When fat rises to the top, skim off as much of it as you can using a ladle or turkey baster before adding it to the pan of the prepared turkey stock; bring to a simmer over medium heat.  In a separate bowl, mix together the potato starch and water to form a paste.  Whisk this mixture into the simmering gravy and whisk until smooth and blended.  Increase the heat to a low boil.  Season with additional salt and pepper to taste.  Once the mixture has come to a boil it has achieved its maximum thickening potential, so if you the gravy is still too thin, whisk in some additional starch and water paste and bring to a boil again.  The amount of potato starch paste you will need to use to thicken the gravy will all  depend on the amount of gravy in your pan.


About Chef Schiefler

Chef Kathleen is a hometown girl and a graduate of the GRCC Culinary program in Grand Rapids, Michigan. She has traveled the world extensively studying foods, traditions, and international customs. Kathleen also attended stints at Ecole de Cuisine LaVarene in Burgundy, France, The French Pastry School in Chicago and the CIA in Napa Valley.

Today, Kathleen merges her passions for hospitality in inspiring ways with Kathleen and Company - developing creative solutions in marketing, culinary arts, merchandising, purchasing, and customer relations. She also continues to indulge her passions with the Arts, is an Advanced Master Gardener, occasional interior designer, and is frequently featured at speaking and teaching engagements throughout the city. In addition to being co-founder of the KITCHEN SINC - where she will be hosting cooking classes in this facility and helping new incubators launch their products to market - you will also find her at Rylee’s Ace Hardware on Michigan Street where she hosts their Ace’s in the Kitchen cooking program and also teaching classes at Grand Rapids Community College Secchia Institute for Culinary Enthusiasts.